緣由
- 自己的 OS 是 MacOsX,在用 iTerm2 來替代內建的 Terminal
- 目前工作 + 研究所有超過 3 台不同用途的 Server 要 Maintain 🥲
- 有的 Server 不能用 SSH-Keygen 的方式登入,但每次都要打開加密的文件再把密碼搜尋到效率不佳
- 於是找到一個用 iTerm2 Profile + Shell Script 的方式來自動輸入 Account + Password 的登入方法

Source: https://rabexc.org/posts/using-ssh-agent
甚麼是?
iTerm2
- 一個開源的 Terminal 替代工具

Source: https://iterm2.com/
- 其他優點
- 可以看官網的介紹
- Features — iTerm2 — macOS Terminal Replacement
Source: https://iterm2.com/features.html
- 打動我的是這句
「If you spend a lot of time in a terminal, then you’ll appreciate all the little things that add up to a lot.」
- 再加上一張圖
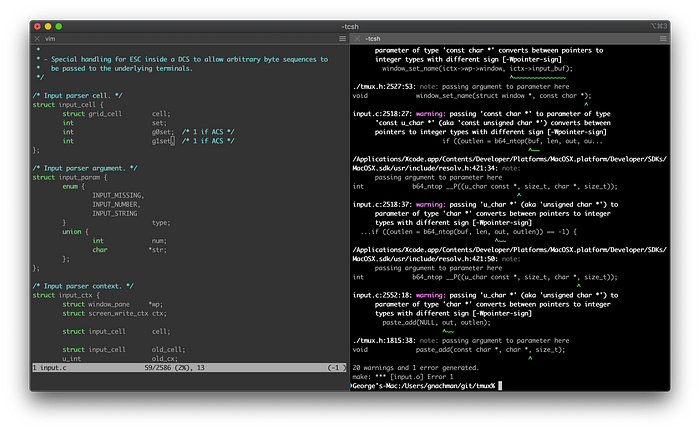
Source: https://iterm2.com/features.html
iTerm2 profile
- iTerm2 上相當好用的功能
- 客制化 iTerm 2 裡要使用的新視窗,可以用在:
- SSH
- 運行特定 Shell script 的快捷鍵
- etc.
Shell Script
- 解釋這個會太長,直接上文件
- https://afni.nimh.nih.gov/pub/dist/edu/data/CD.expanded/AFNI_data6/unix_tutorial/misc/unix_commands.html
解決方案
用 iTerm2 Profile + Shell Script 的方式來自動輸入 Account + Password
Shell Script
- 打開 iTerm2 進入路徑
# 如果你是在預設的路徑 /Users/$USER 裡

cd ../../usr/local/bin
- 建立一個檔案叫 login.exp
# 小心駛得萬年船,我會用 pwd 來 check 目前的路徑
pwd

# 本人 namo 派;如果目的地裡沒有 login.exp file 會自動創建

sudo nano login.exp
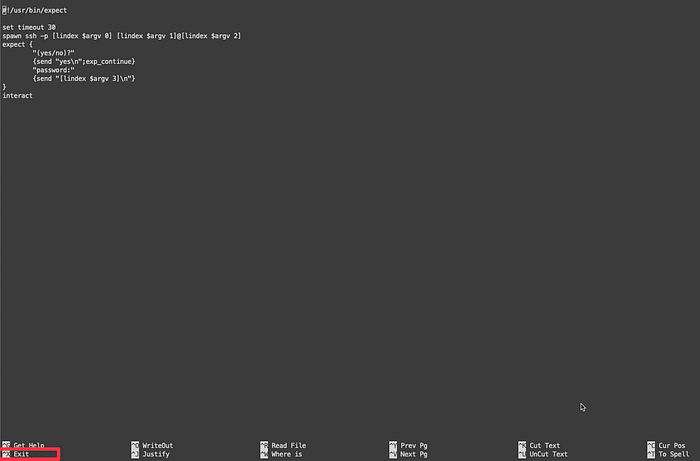
- 然後在空白的檔案裡輸入
#!/usr/bin/expectset

timeout 30

spawn ssh -p [lindex $argv 0] [lindex $argv 1]@[lindex $argv 2]
expect {
        "(yes/no)?"
        {send "yes\\n";exp_continue}
        "password:"
        {send "[lindex $argv 3]\\n"}
}
interact
- 稍微解釋一下程式碼在做甚麼
#!/usr/bin/expect
# 指定 shell 來執行下列的程式,這次使用的是 expect

# time out 時間設置,超過 30 秒內沒有執行完成會結束
set timeout 30

# spawn 是 expect 的 command,用途是啟動一個新的程式並執行
# 這邊我們設計成執行 SSH command

spawn ssh -p [lindex $argv 0] [lindex $argv 1]@[lindex $argv 2]

# 因為第一次登入時一般會有要輸入 yes / no 確認連線的情況
# 所以會設計一個輸入 yes 的 input
# exp_continue 是 expect 內解的 command
# 用途是確認上一個動作執行接續下一個動作
# 在這裡就是確認 yes /no 有沒有存在,有就輸入 yes 到下一步
# 輸入後如果是沒有 SSH-genkey 的 USER 時,一般會要求輸入 Password
# interact 用途是 keep prcoess alive 的 command

expect {
        "(yes/no)?"
        {send "yes\\n";exp_continue}
        "password:"
        {send "[lindex $argv 3]\\n"}
}
interact
# 我們最後會輸入 4 個 argument,分別是
# $PORT: $argv 0
# $USERNAME $argv 1
# $IPADDRESS $argv 2
# $PASSWORD $argv 3

# e.g. login.exp $PORT $USER $IPADRESS $PASSWOR
- 隨後我們接 clt+x 來結束編輯,確認名稱沒誤後便可儲存。
- 完成上述的設定就完成了一半了,接下來就是在 iTerm2 裡進行設定
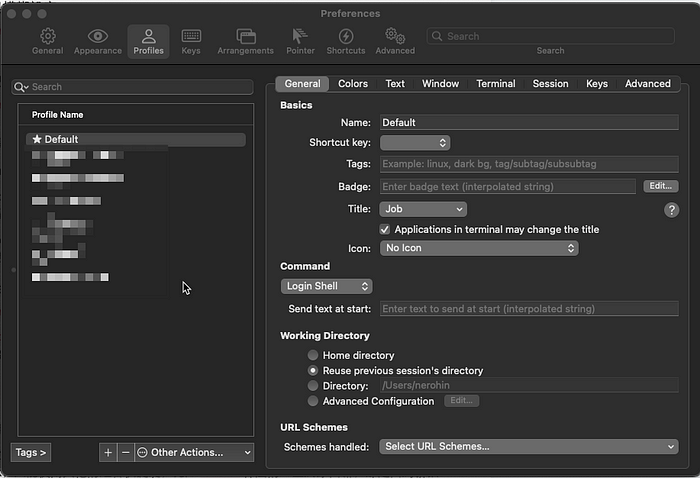
iTerm2 Profile Setting
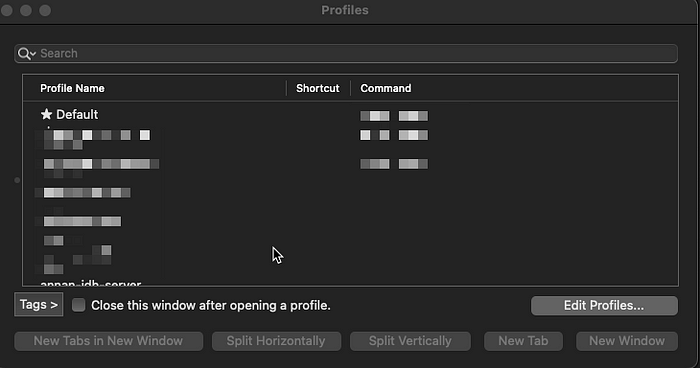
- 打開 iTerm2 後點擊上方的 Profiles 中的 【Open profiles】

- 進行 profile 的頁面後點擊 【edit profiles】
- 進行到 edit Profiles page 點擊 【+】,新增一筆新的 Profile
步驟
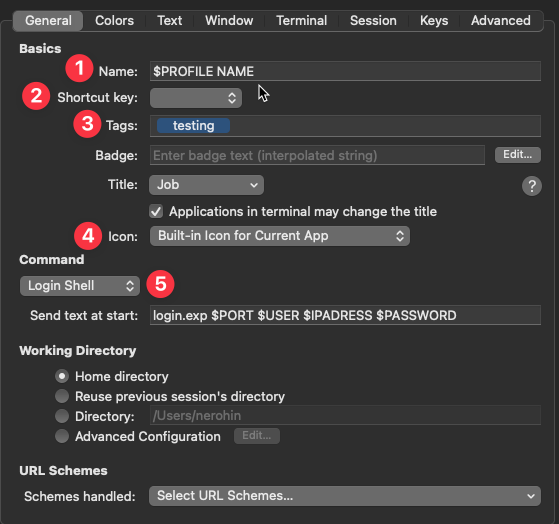
- Name:Profile 的名稱,個人建議以【USERNAME - 用途 - OS 】來命名比較直觀:
E.g. USER-AI-Ubuntu22 - Shortcut Key:快捷鍵的設定;如果你很常用建議可以設一設
- Tag:Profile 的標籤,如果連線數量不少建議可以分類一下(像我個人就有公司、研究所、AI、IOT、個人等等)
- Icon:iTerm2 顯示 Session 時的 Icon,如果有運行不同應用的情況可以用 【Bulit-in icon for current app】來做區分。
- Command:重點來了,我們剛剛新增的
login.exp是放在/usr/local/bin,算是一個 user 在 local setup 好的 function,所以可以直接呼叫使用。
login.exp $PORT $USER $IPADRESS $PASSWORD

# e.g.
login.exp 9473 USER 100.100.100.1 12345678
使用方式
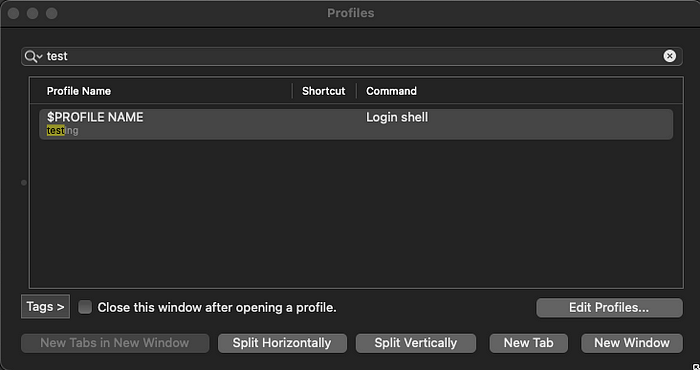
- 使用時只需在 Profiles 裡點擊相對應 Profile name 來使用即可。
Tips:我都用快捷鍵 cmd+o → 搜尋對應的 profile → 按 Enter 就可以打開了,一氣呵成行雲流水的!
總結
從前要登入 Server 要:
ssh $USERNAME@$IPAddress -p $PORT # 之後還要輸入密碼 QAQ
現在變成
- 打開 iTerm2 + Cmd + O
- 找到要想登入的 Server
- Press ‘Enter’
- 一次登入省 10 秒,人生就多了 10 秒 來處理其他事情了!(並沒有

Source:https://knowyourmeme.com/memes/10x-engineer
後記
- 其實 iTerm2 Profiles 的功能相當強大,從 Terminal 的顏色、文字大小、背景圖片、字的行高行字距、Scrollback line 長度、Encoding 的編碼、Session Type 都可以一一客制。
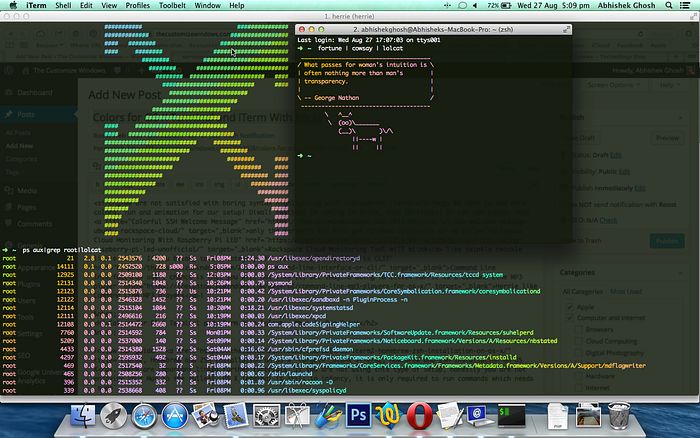
Source: https://thecustomizewindows.com/2014/08/colors-os-x-terminal-iterm-lolcat/
結尾 MurMur
- 謝謝您看到這裡,也歡迎找我交流你的心得和想法~
- LinkedIn: https://www.linkedin.com/in/nerouch/
- GitHub: https://github.com/NeroHin
Reference


